Video Converter Ultimate User Guide
Video Converter Ultimate is a piece of easy-to-use but powerful video conversion software for users to convert SD videos, HD videos, DRM-protected videos, edit videos, rip DVDs, extract/encode audios, burn videos to DVD, convert 2D videos to 3D videos, etc. In this this user guide, you'll learn how to make full use of this video converter to fully enjoy your DVDs, videos, music anywhere anytime.
1. Download online video
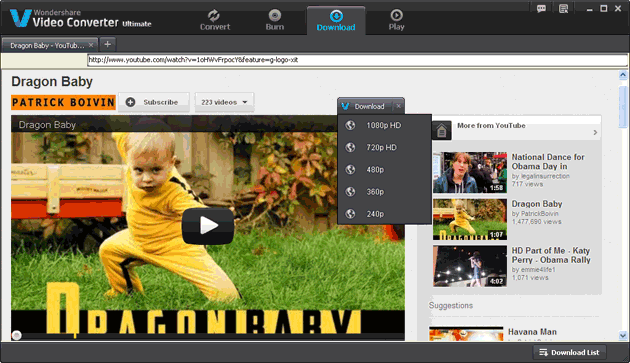
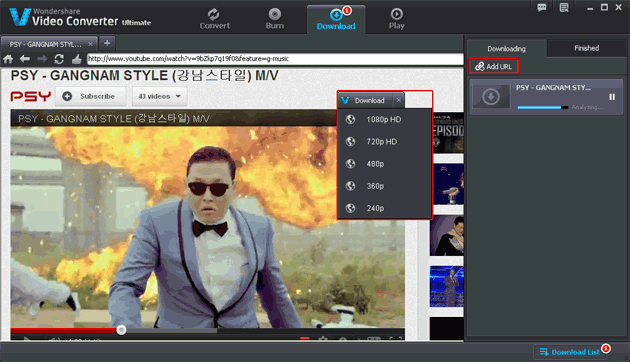
As an online video downloader and converter, Video Converter Ultimate has the function of downloading online videos from video-sharing sites like YouTube, Vimeo. You can download an online video directly within 3 steps: click the "Download" icon, paste the URL of the video to the box, and click "Download" button to start the video downloading progress.
2. Record online video
For those videos that are restricted from downloading, you can use the "Record" feature. Recording an online video is as simple as downloading a video:
First, open your browser and play the video that you want to record;
Second, click the "Record" icon under the menu bar on the main interface of Video Converter Ultimate and this online video recorder will automatically detect the target video;
Third, highlight the recording area and click the red "REC" button to start recording;
Fourth, stop recording at any time you want and the program will automatically generate the recorded video for you and save it to the "recordings" folder.
3. Import videos, audios & DVD
You are allowed to import files in 3 ways:
1. Click "File" in the menu bar to add files & folder, load files from device, find DRM files, load DVD-ROM/DVD folder/ISO files/IFO files;
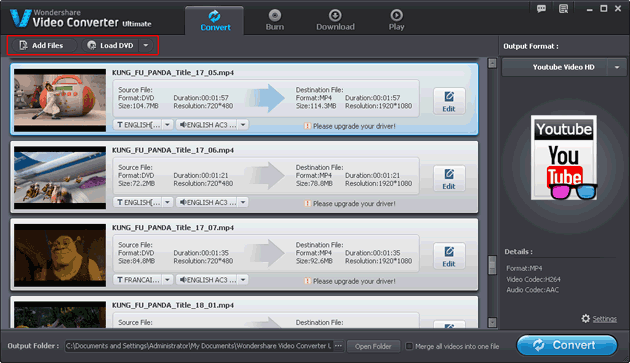
2. Click the "File" and "DVD" icons to import corresponding files;
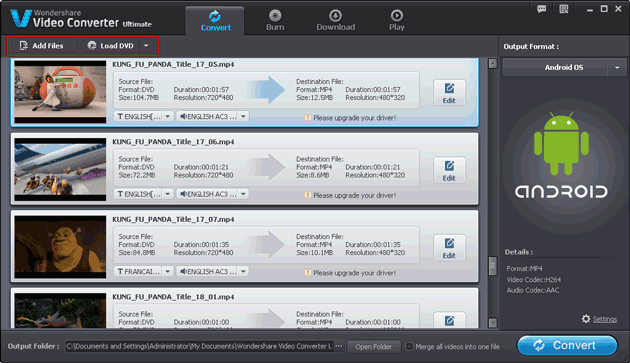
3. Directly drag and drop the files into the program, this may be the easiest way.
4. Edit videos
Video Converter Ultimate is not only a video converter, but also a video editor. You can edit and beatify your videos easily with its editing functions: trimming, merging, cropping, adjust video effects, watermarking and subtitle adding.
Trim video
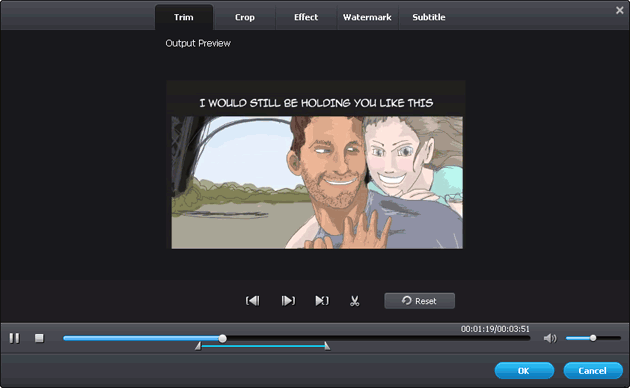
Click "Trim" or right click the imported video, then the "Trim" window pops up. You can play the video, and set the start point and the end point by inputting numerical values or dragging the playing bar to trim any parts of the video or audio you want. It's absolutely a good choice of cutting wonderful movie scenes and making ringtones from long music.
Merge videos
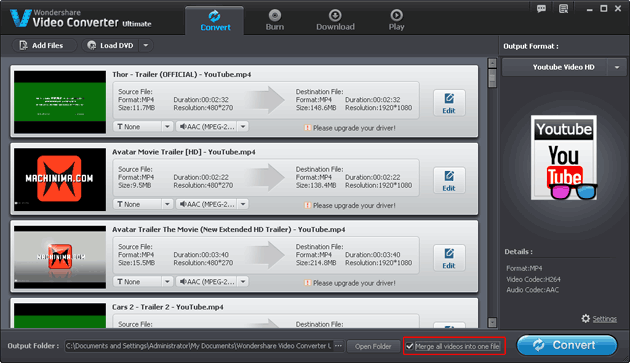
Just highlight the video clips you want to merge, and right click to select "Merge into one file". After the conversion, all your video clips will be joined together.
Crop video
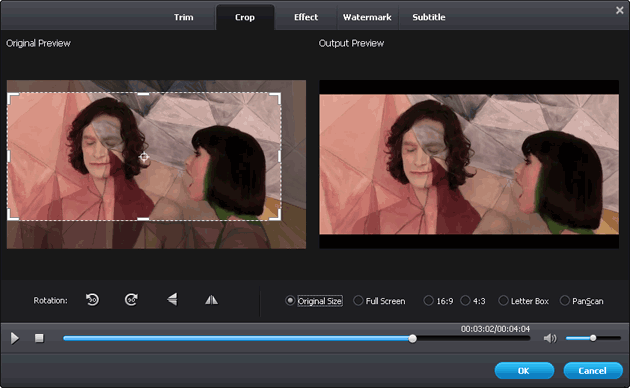
Click "Edit" -> "Video Edit", you will enter "Video Edit" window.
Adjust the crop area with the cursor or input numerical values to crop the area you want and drop unwanted image area like black edges.
Adjust video effects
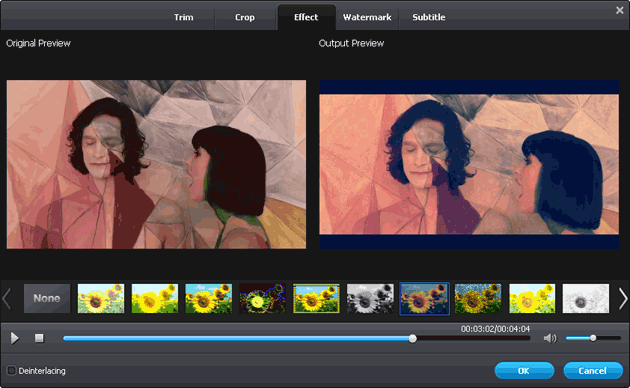
This program also empowers you to adjust video parameters, such as "Brightness", "Contrast", "Saturation" and "Amplifier", apply special video effects like "Gray", "Emboss", "Negative", "Old film" or convert interlaced videos to non-interlaced form.
Add watermark to video
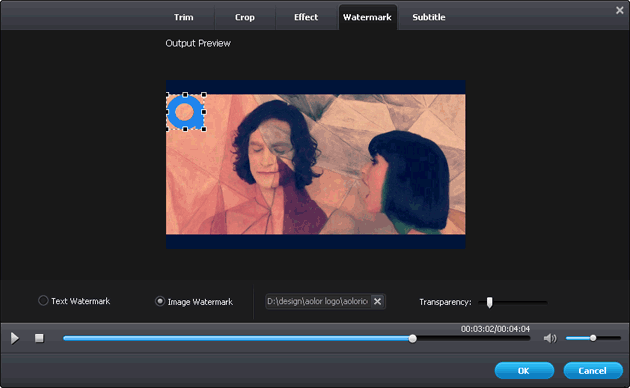
Add image or text watermark or logo to credit your works is easy in this video converter.
Import subtitles
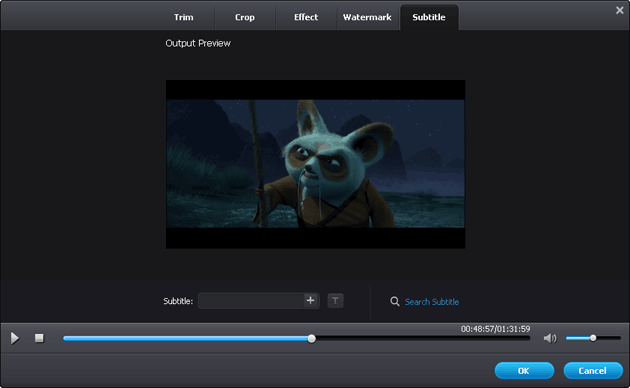
Subtitles of .srt, .ass, .ssa formats are supported for import, at the same time, subtitle customization is also available.
5. Set output options
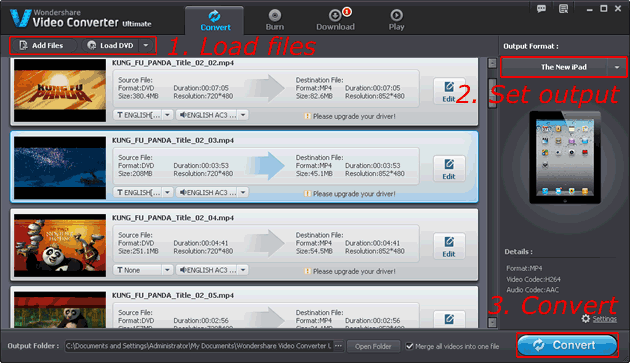
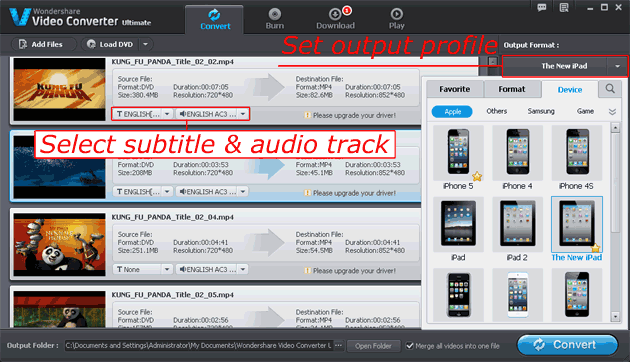
Pick the proper audio tracks and subtitles for you video by clicking the drop-down menu next to the thumbnails; Select output formats (SD videos, HD videos, 3D videos, audios, Flash SWF, DVD) devices (tablets, mobile phones, MP3 players, video game consoles) or websites (Facebook, YouTube, Vimeo, Yahoo video) with the Profile drop-down list.
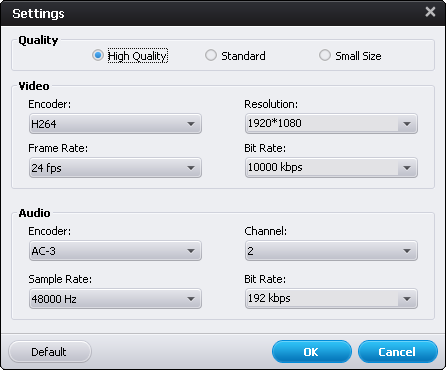
If you want to set output video parameters like video encoder, resolution, frame rate, bit rate, and audio encoder, sample rate, channel, bite rate for specific needs or split video by size or time, click the "Advanced…" button.
To customize and manage you own video profiles for further convenient use, click the little downward triangle icon of "Profile" and then "Customize". In addition, it is easy for you to set output destination, and open output folder using the "Output" menu.
6. Start to convert and burn to DVD
If the outputs are videos and audios, and all the things are ready, just click the big "Convert" button to start the conversion. If you want to burn the videos to DVD and have set the output as DVD, the "Burn" button will show up, click it.
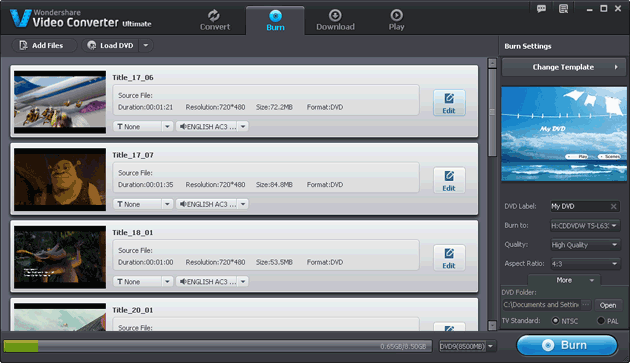
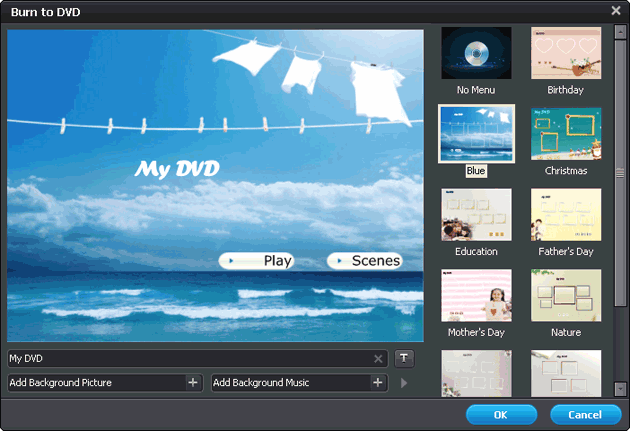
For DVD burning, you are allowed to select exquisitely-designed DVD menu templates and add background music and background picture. Then, click "Next" -> "Start" to start burning.
