DVD Ripper for Mac User Guide - How to Rip DVD on Mac
DVD Ripper for Mac is the best Mac DVD ripping software for movie and music lovers to convert DVD to videos and extract audios from DVD on Mac OS X to play DVD movies and DVD audios on cell phones, tablet PCs, MP3 players, video game consoles and HDTVs, share home-made DVD clips on YouTube and Facebook, and import DVD to video editing software or media player.
To Rip a DVD on Mac with the help of DVD Ripper for Mac is easy. In this guide, you'll learn how to rip a DVD within only 3 steps: drag and drop to import DVD -> set output options -> start DVD ripping.
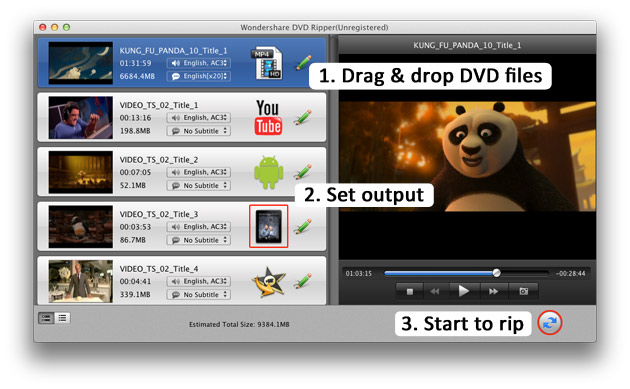
DVD Ripper for Mac is free to download here. (If you are a Windows user, please check DVD Ripper for Windows.)
Download, install and open the DVD ripping app, you'll enter the main interface.
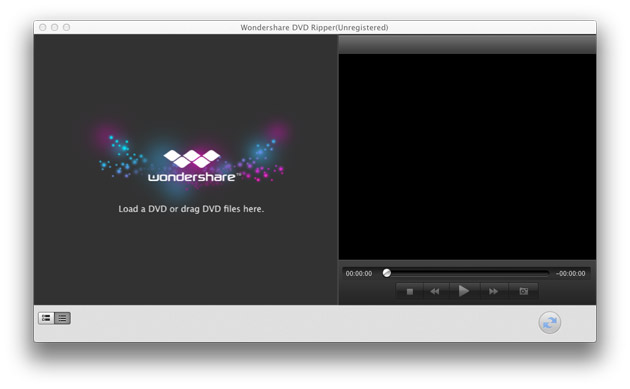
STEP 1: Import DVD files
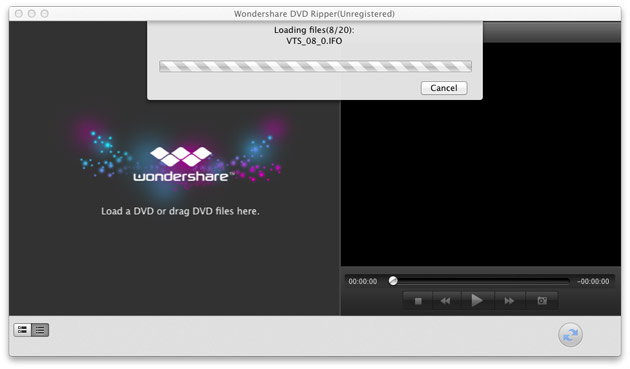
This Mac DVD Ripper allows users to import DVD-9/DVD-5 discs, DVD VIDEO_TS folders, IFO files, .dvdmedia files and DVD video VOB files. There are 2 ways to choose: 1. Drag and drop DVD files or DVD disc icon to the import window; 2. Use the menu bar "File" -> "Load DVD" to load DVD files.
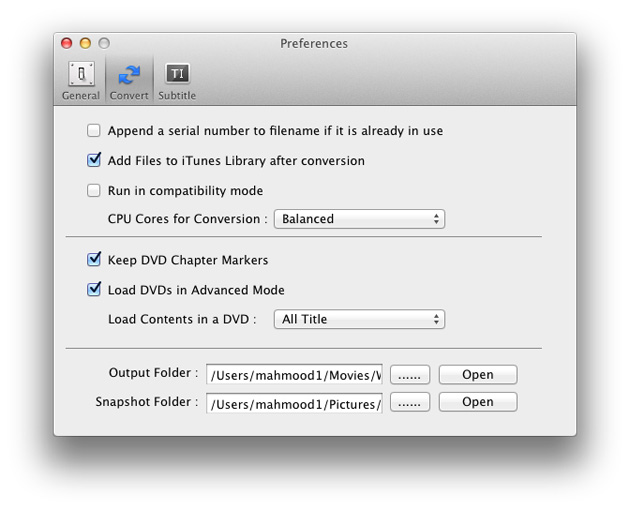
Note: By default, this Mac DVD ripper will only load the main title of the DVD. If you want to load all the titles of a DVD, please check the option "Load DVDs in Advance Mode" in the "Preferences" panel and select "All Title" from the drop-down list of "Load Contents in a DVD".
STEP 2: Set output options
When all the DVD titles are loaded, click the output icon on the left of the pencil icon to set output options for each DVD title.

Output Name: Input the desired name for the output video or audio; (To set the output folder, please go to "Preferences").
Format: Set the output format. Pick a format from the groups of the preset output profiles: Apple Devices, Apple Software, Game Console, Portable Video Players, HD Movie, Mobile Phone, Web Video, Common Video and Common Audio.
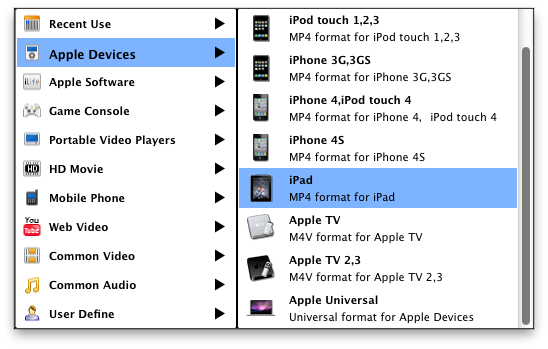
Options: Customize output video and audio parameters like video codec, resolution, frame rate and bit rate and audio codec, channel, sample rate and bit rate.

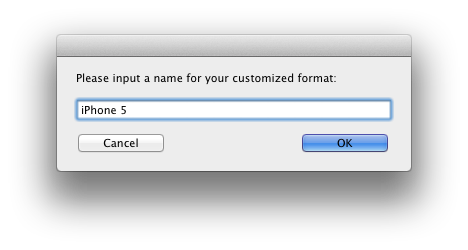
Customize: Save the custom output profile as a new one so that you can find it in the "User Define" ground and apply directly next time.
SETP 3: Start DVD ripping
Click the "convert" button  to start ripping a DVD.
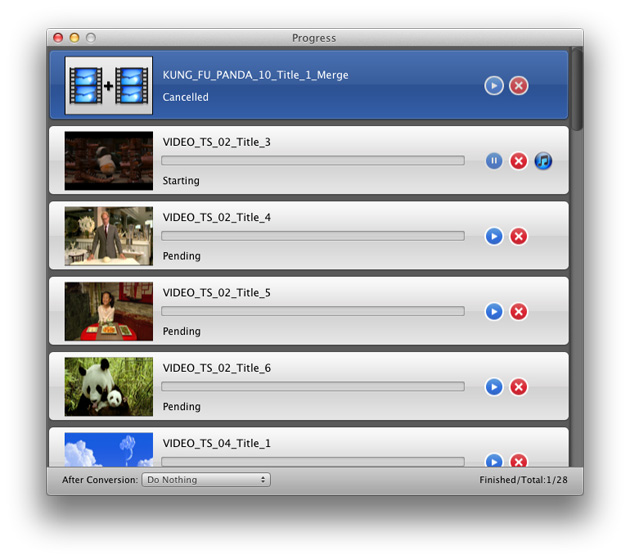
When all the conversions are finished, you can find the ripped DVD videos in the output folder.
Tips:
1. To open the output folder after conversion automatically, check the corresponding option under the "General" tab of "Preferences".
2. To automatically add files to iTunes Library after conversion, enable the function under the "Convert" tab of "Preferences".
OPTIONAL STEP: Edit DVD video
Besides ripping a DVD and converting to video or audio, DVD Ripper for Mac is also capable of making some editing for the output video:
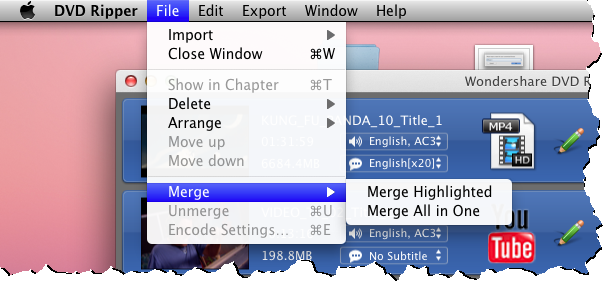
Merge multiple DVD titles into one movie clip: highlight the DVD titles that you want to merge, and then go to "File" -> "Merge" -> "Merge Highlighted".
Select subtitle and audio track: on the right of each DVD title thumbnail, users are able to pick the most proper subtitle and audio track (if available) for the output video.
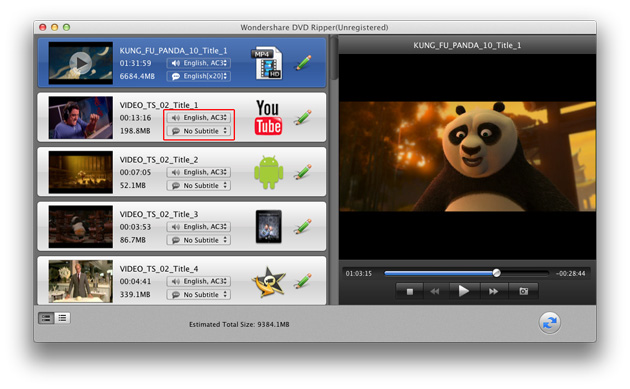
Take snapshots: to capture the classic scenes of a DVD movie, use the "camera" icon ![]() of the preview player.
of the preview player.
Trim DVD title: by clicking the "pencil" icon ![]() in the DVD title list on the main interface, you'll enter the default "Trimming" tab in the "Edit" window. Either by inputting the start time and end time or by dragging the slider bar, users can trim a DVD title into several clips.
in the DVD title list on the main interface, you'll enter the default "Trimming" tab in the "Edit" window. Either by inputting the start time and end time or by dragging the slider bar, users can trim a DVD title into several clips.
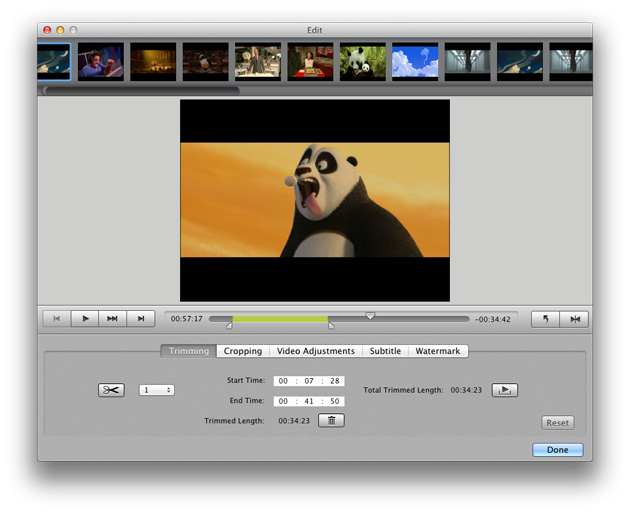
Crop DVD title: with the "Cropping" tab, users are able to crop unwanted parts like black borders.

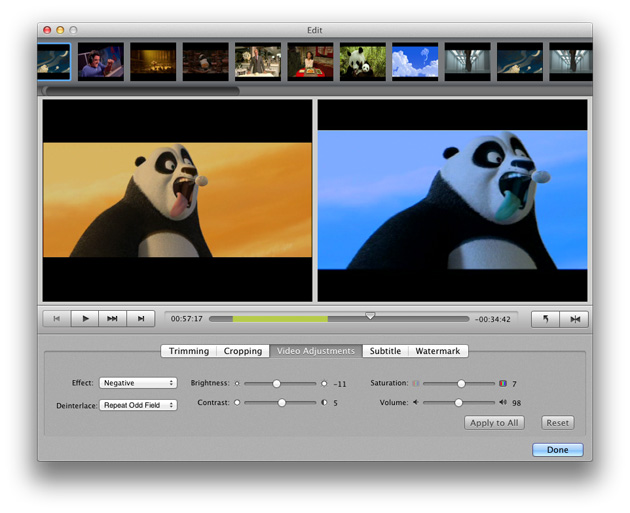
Adjust video effects: applying special video effect, adjusting video brightness, saturation, contrast and volume, and choosing deinterlace mode are available under the "Video Adjustments" tab.
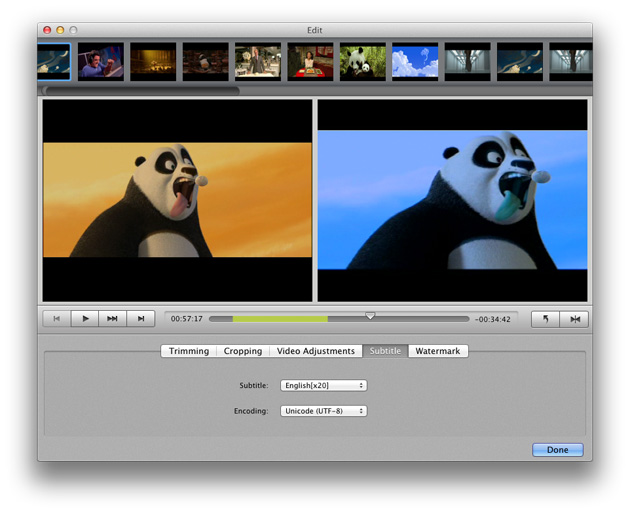
Set subtitle: with the "Subtitle" tab, select the subtitle and set the subtitle encoding for the output video.
Add image/text watermark: in the "Watermark" tab, check "Enable Watermark" to enable this function, you can add an image watermark with the image from your Mac, or input a text watermark. Also, adjusting watermark position and transparency are supported.

Rotate or flip DVD video: with the  buttons, users are able to rotate a DVD video through 90 degrees clockwise or flip a DVD title horizontally.

